Description
Shape Glow is a substance painter filter that creates a glow around the edges of an alpha shape in your mask layer. This is useful if you want to use a glow effect of an alpha instead of the alpha itself, such as creating unique borders and patterns.
Product Page
Installation
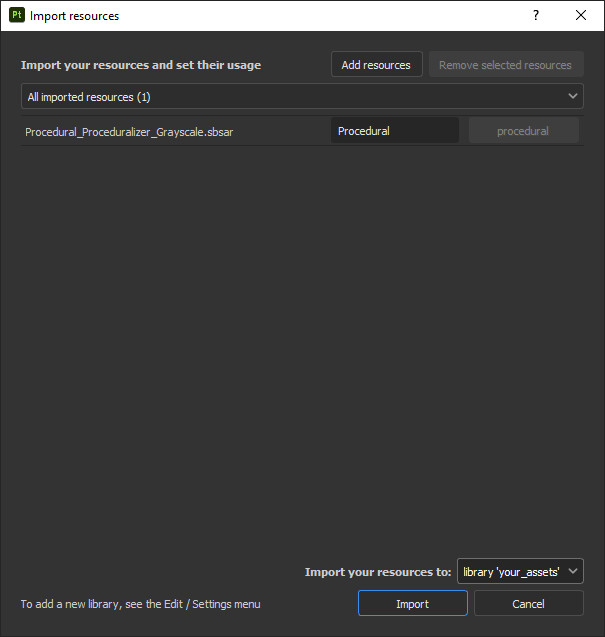
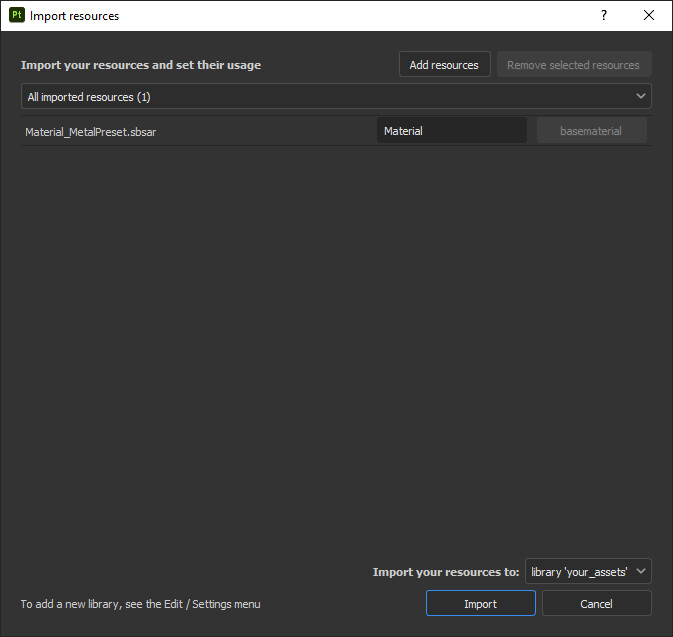
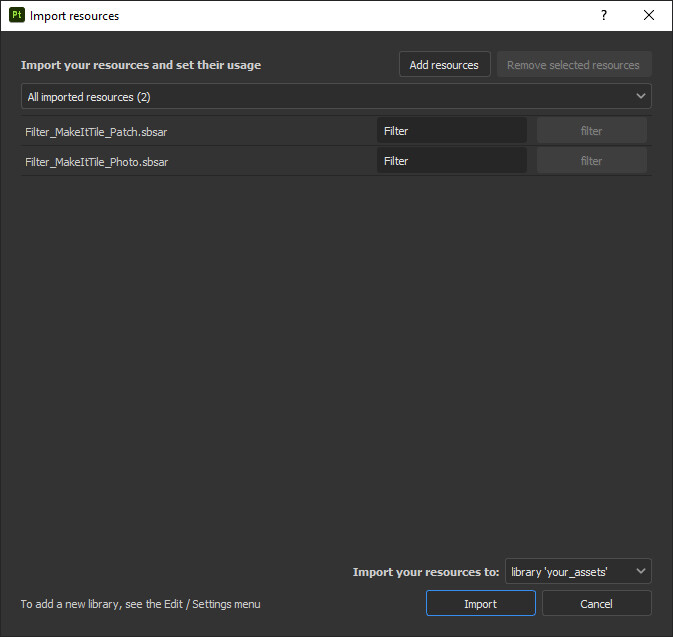
To install the files, simply drag and drop them into the shelf in Substance Painter. This will open the "Import Resources" dialog. In the drop down near the bottom change "Import your resources to:" to the library of your choice.

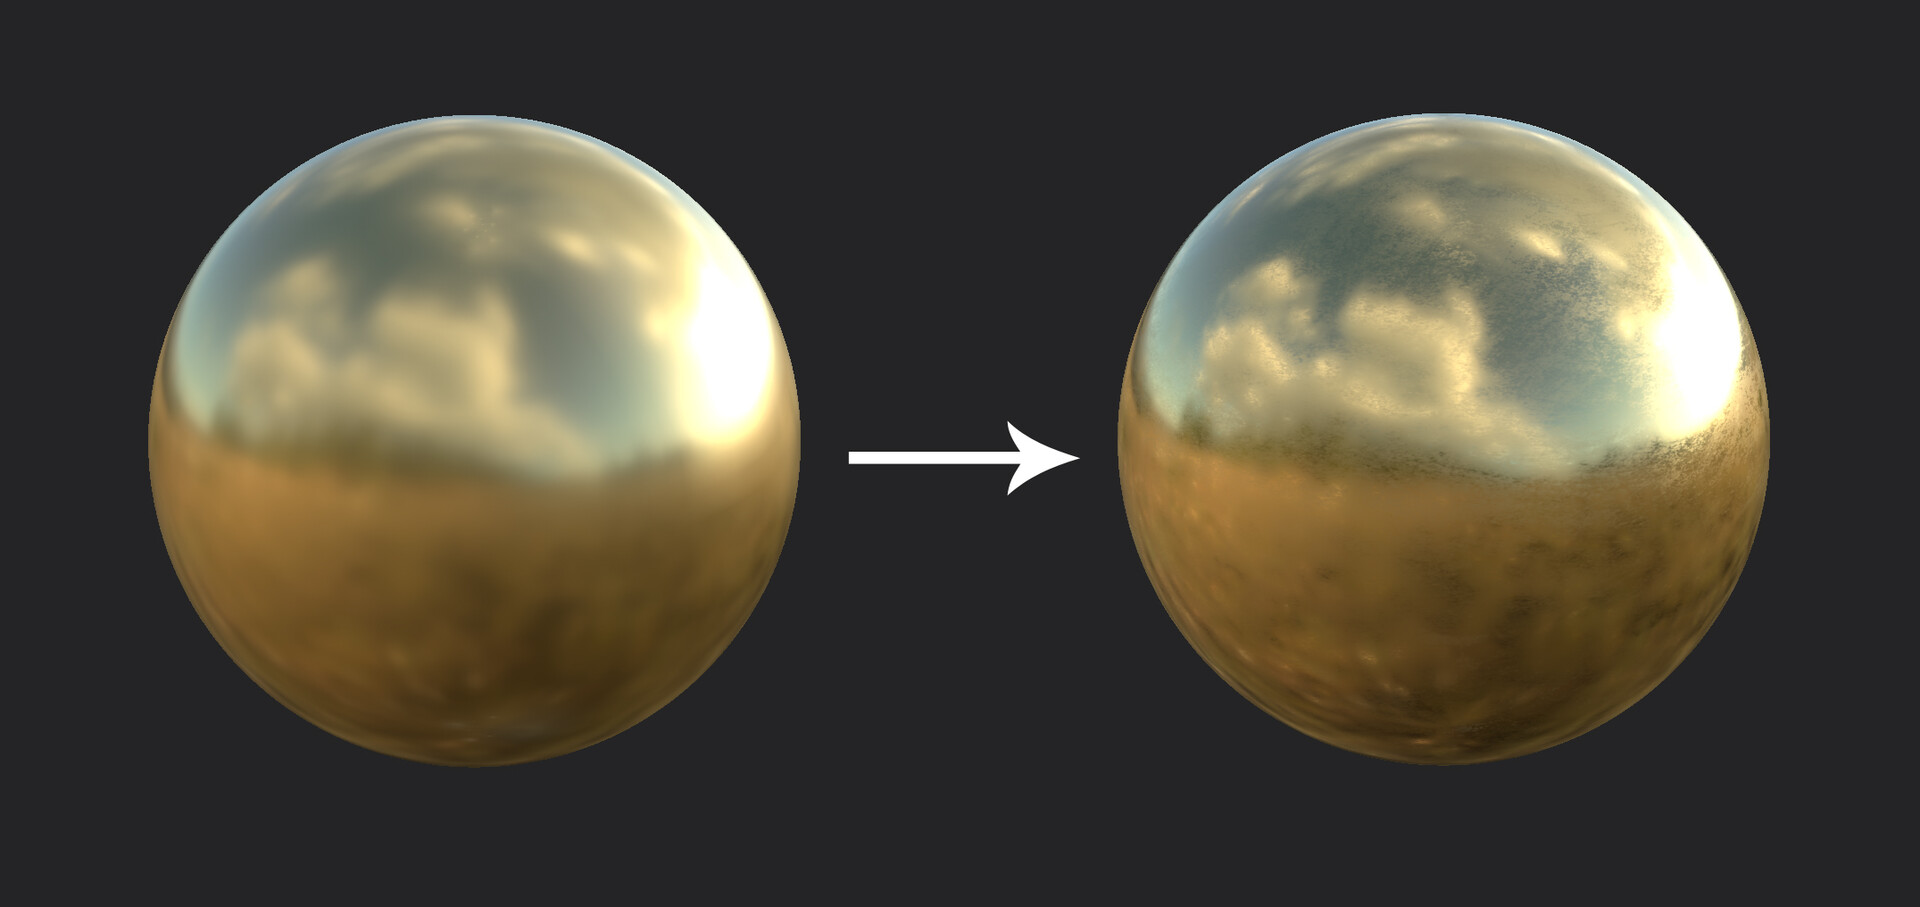
Example
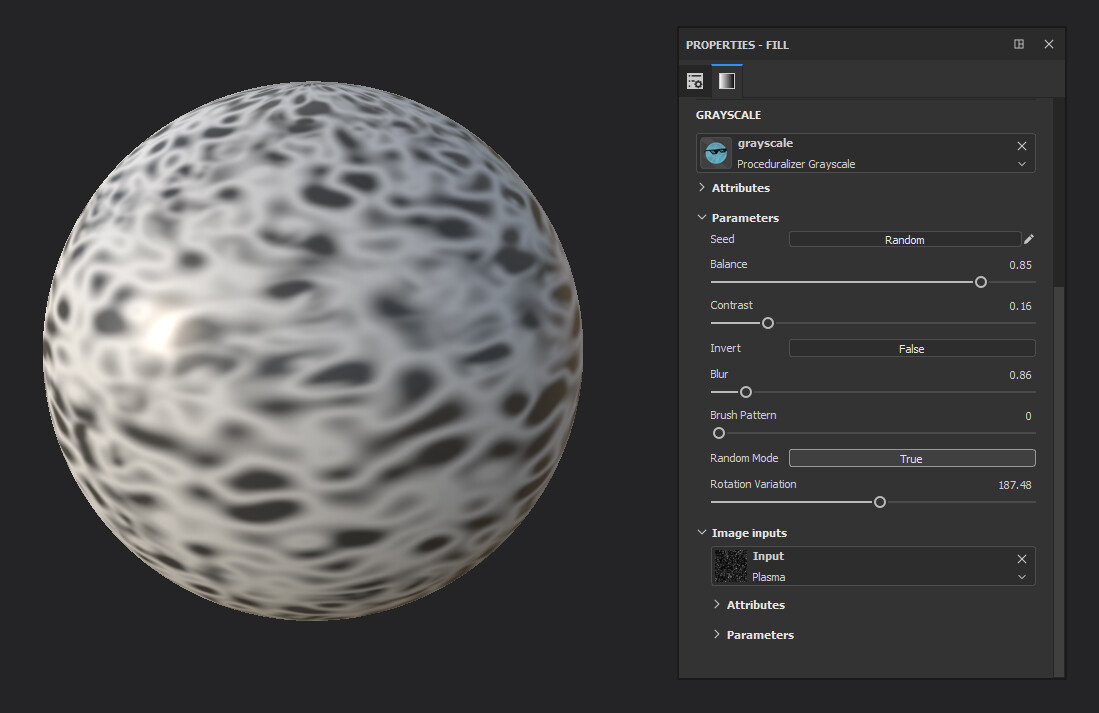
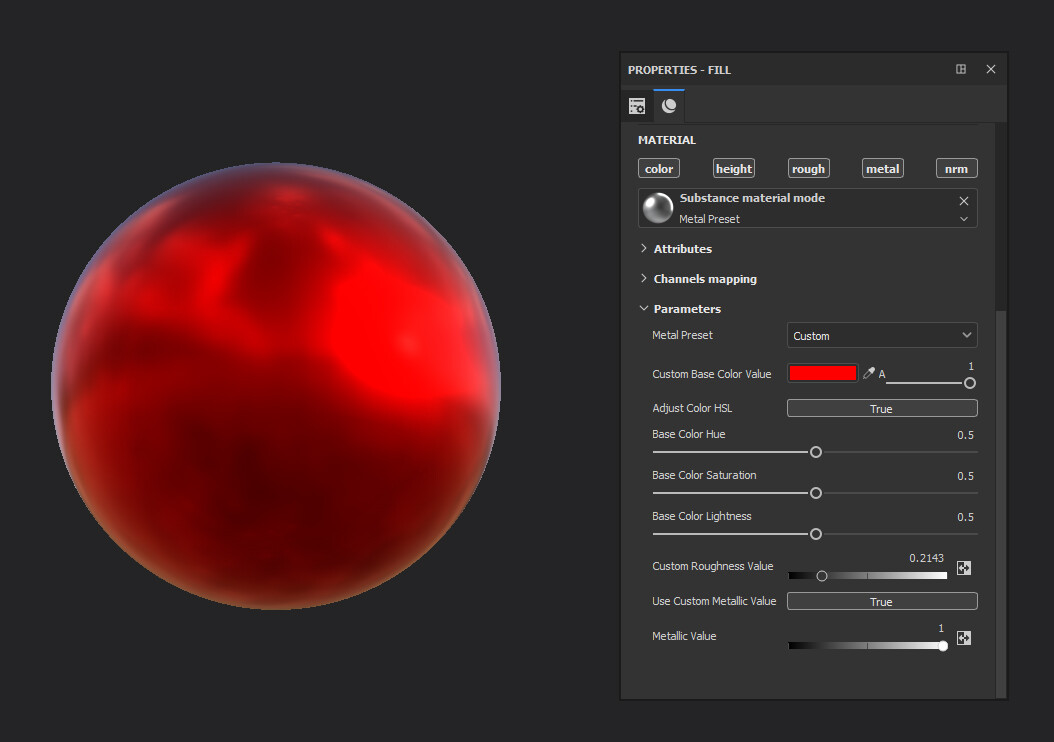
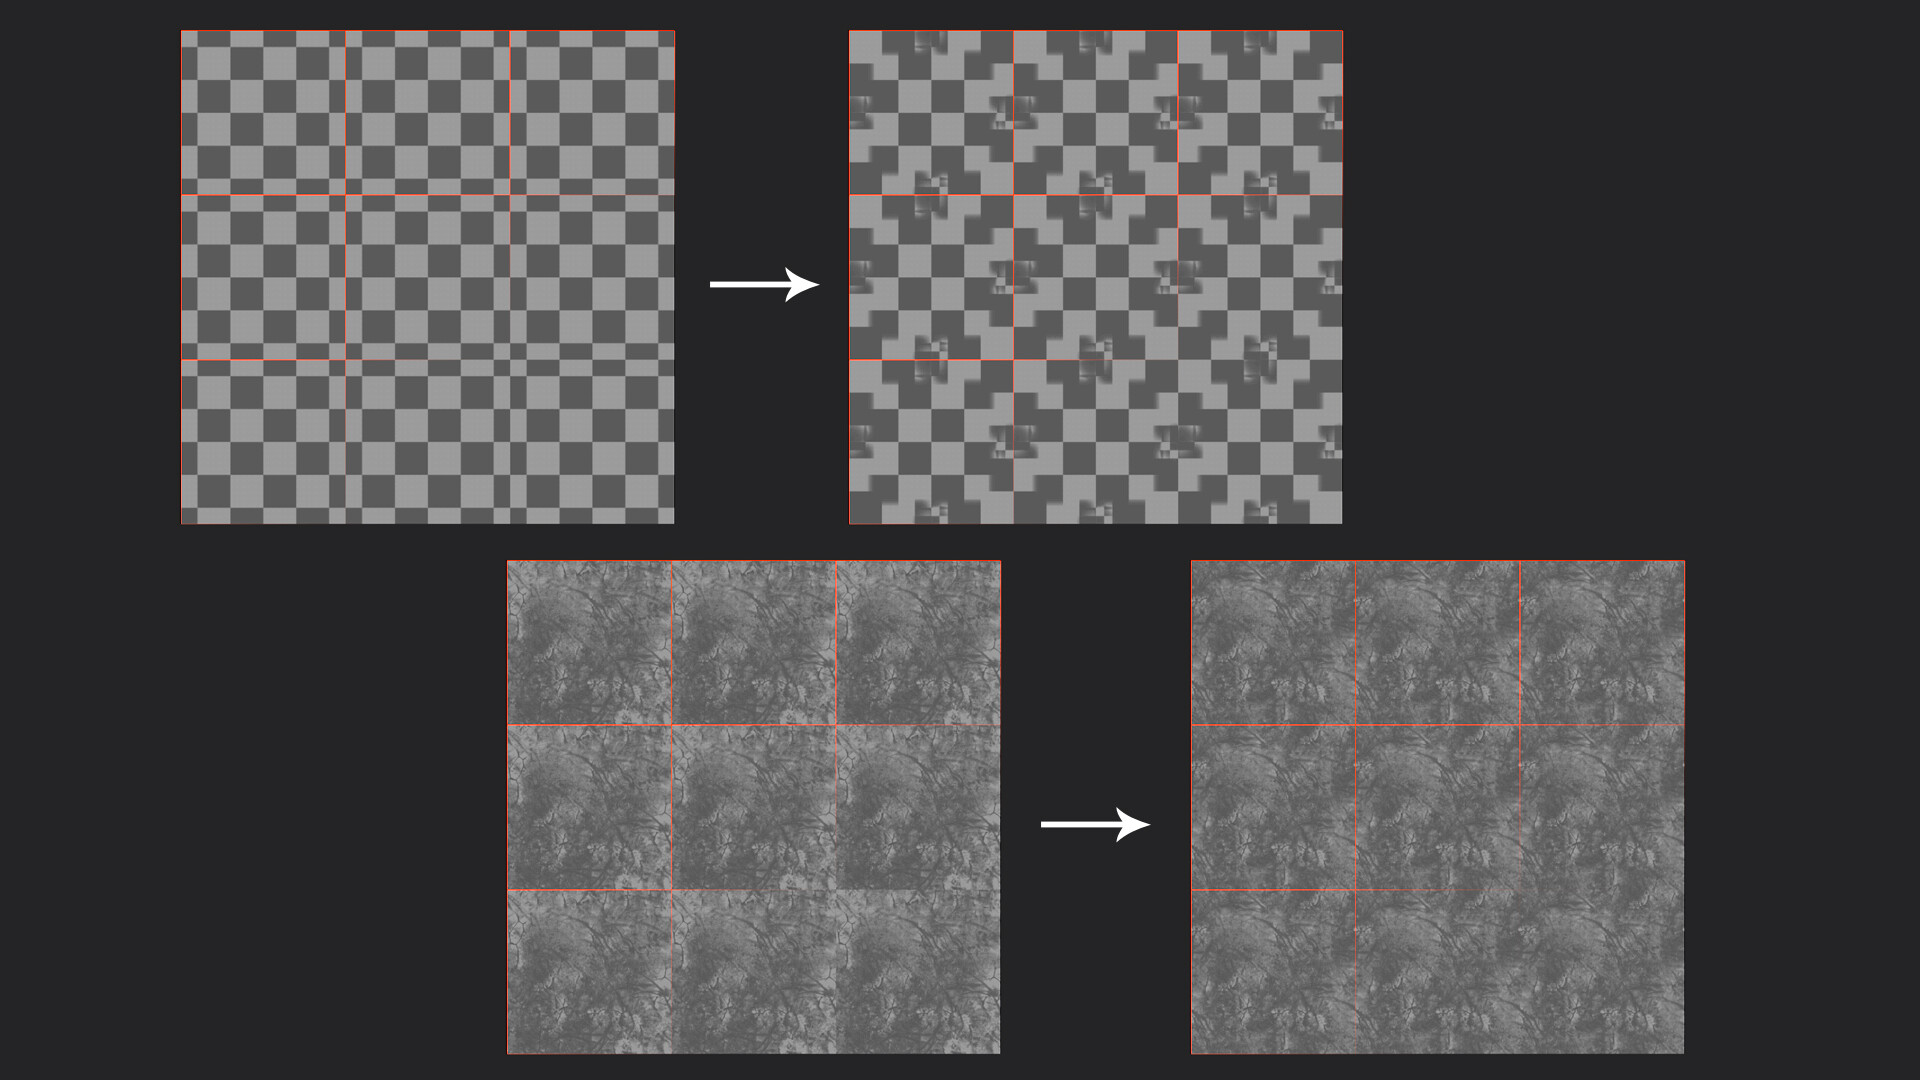
Use the filter in the mask layer and large solid shapes for best results. After applying the filter, the alpha will have a glow effect added and can be adjusted with the parameters in the menu.


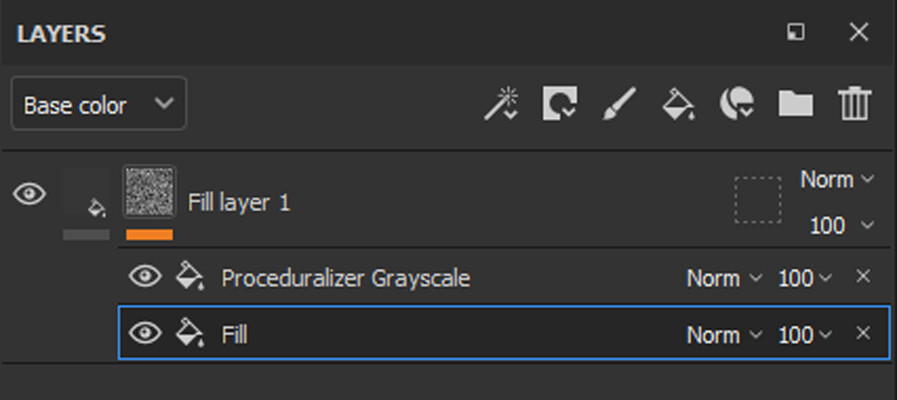
A way to add a colored glow to an object is to add the filter after an anchor point and add another layer above with the original shape. In the example below the 'Fill Layer 1' filter has 'Keep Base Shape' enabled to prevent and gaps between the original shape and the glow effect.

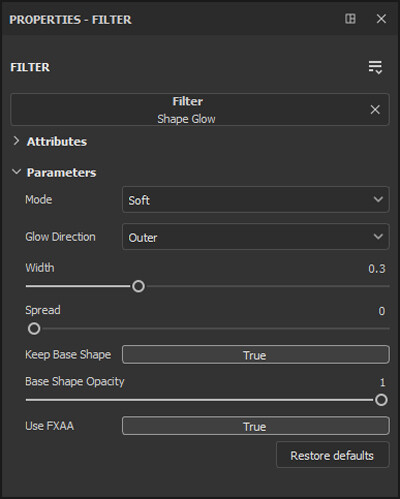
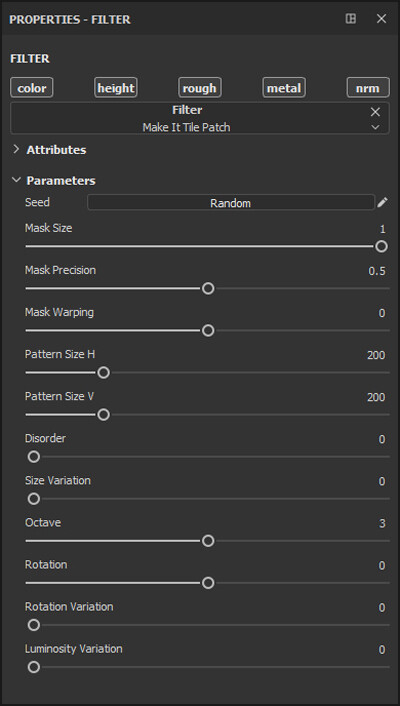
Parameters
Mode
The mode of the glow.
Glow Direction
The direction of the glow.
Width
The width of the glow.
Spread
The spread of the glow.
Keep Base Shape
Keeps the original shape with the glow effect.
Base Shape Opacity
The opacity of the original shape.
Use FXAA
Use FXAA to smooth aliasing.